From increased privacy to enhanced internet connection, there are a number of reasons why iPhone users might want to alter the Internet Protocol (IP) address on their devices. For something that could seem rather difficult if youre not tech-savvy, the switch on your phone is relatively straightforward if you follow one of two simple paths.
How to change the IP address on your iPhone automatically1. On your iPhone, click on the gray app icon that says Settings.
2. Right near the top of your menu, you should see the Wi-Fi tab. Tap on it.

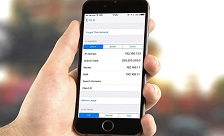
3. Once youre in the Wi-Fi section, touch the blue icon i with the blue circle around it next to your Wi-Fi network.

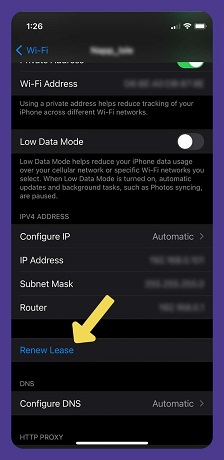
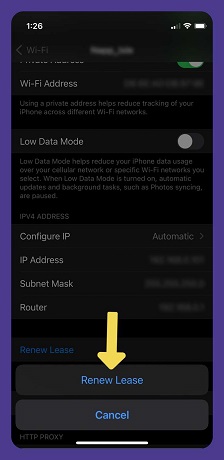
4. Inside, you will see your networks information and details. Toward the bottom of your screen is the blue tab to Renew Lease. To automatically renew your IP address, click on the Renew Lease option, then click on it again when the menu pops up from the bottom. Your IP address will be updated.
 How to manually change the IP address on your iPhone
1. Start the same way as the automatic option: Open your Settings app.
2. Select the Wi-Fi tab, and then click the encircled blue i symbol in the right corner of your Wi-Fi networks bar.
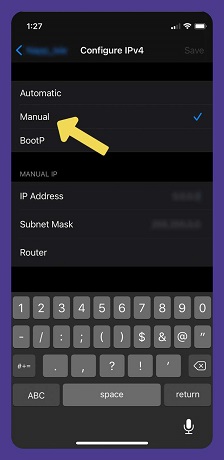
3. This time, once youre inside the Wi-Fi networks information and details page, tap the Configure IP option in the bottom third of the screen. In that menu, switch to Manual.

4. After selecting Manual, the screen regenerates options for you, including IP Address, Subnet Mask and Router.
5. After inputting the information on the screen, make sure you save the details so the IP address updates. You now have changed your IP address.
source